.

.

.

.
Showing posts with label #homesweetrollinghome. Show all posts

Sunday, December 27, 2020

Frozen

Sticking to our early Christmas gift pattern this year, Greg received his gift from Natalie this week, a 3 cubic feet Midea WHS-109W1 Upright Freezer. Of course, he wasn't actually supposed to get this present so early. He just cut the box open after picking it up from the P.O. box, much to Natalie's and my dismay. So, surprise! It's early December and you have already opened your big Christmas present DAD!

But, alas, now that it has been opened, there is no reason not to put it into use, right? After almost 16 months of living in this beast fulltime, we have realized that while it is nice to have an outdoor kitchen, two refrigerators is not necessary. Many, many packages of meat have gone bad waiting to be barbequed in the small outdoor refrigerator. The tiny indoor freezer has also been pretty worthless once it becomes more than half full. Ice cream, popsicles, anything sweet stays a sad state of soft serve mush. Not good for an ice cream loving family.

A new freezer mini freezer seemed to be a simple solution. We would just order on the same size as the mini fridge that was already sitting in the outdoor kitchen space. Jus swap them out, right? Ha! Ha! Ha! Nothing is ever that easy. What should have been so obvious is...the motor for a freezer is bigger than a refrigerator. Thus, a 3 cubic foot (the inside measurement) freezer is bigger than a 3 cubic foot refrigerator.

After removing the mini fridge on the first day, Greg and Natalie tried to push the freezer min at an angle. That was a complete and utter failure. We were sure were would have to send the freezer back. Which would be tough considering the box was thrown away on day one and this was now day four of the big thing sitting in the center on the only open space in our living room.

Back into the RV this albatross of potential frozen ice cream sundaes and pot roasts  was pushed. After a couple of days walking around it, we decided to measure it and see how close to fitting it really was. Side to side, we were just tine. Front to back it appeared to one half inch too wide. One half inch! In the end, it was a bit more than that because, to make this freezer, that is hidden away behind an outside door on our RV slide, PRETTY, they curved the door outward! Sigh.

We had to gain about an inch of space in a set space! The first thing we did, after, of course, dinging up the brand new freezer door, was to remove one of the two spring hinges that holds up the fold up door. It still, as you can see by the photo below, holds itself up just fine with only one spring hinge. 

Then, we created some magic. By removing the eight screws that were holding the door frame in the slide unit, we were able to pull it out about an inch. Replacing those 2" screws with 3" screws and using washers as spacers, we reattached the door unit to the slide. We never actually removed it rom the trailer, just slide it out far enough for the door to close.

Once the screws and washers were in place, we used large amounts of goop to seal the edges of the door to waterproof it again. Finally, we had to slide the latch plate on the bottom of the doorframe out just a 1/4 of an inch to allow for the curve of the freezer door. 


We long ago pushed the cup holder rings in the shelf unit all the way to the back to allow us to use an basically useless shelf into a small pantry shelf. We use it to store our extra pastas and brownie mixes. The space directly below that shelf unit is just exactly the right size to store our instant pot cooker. 

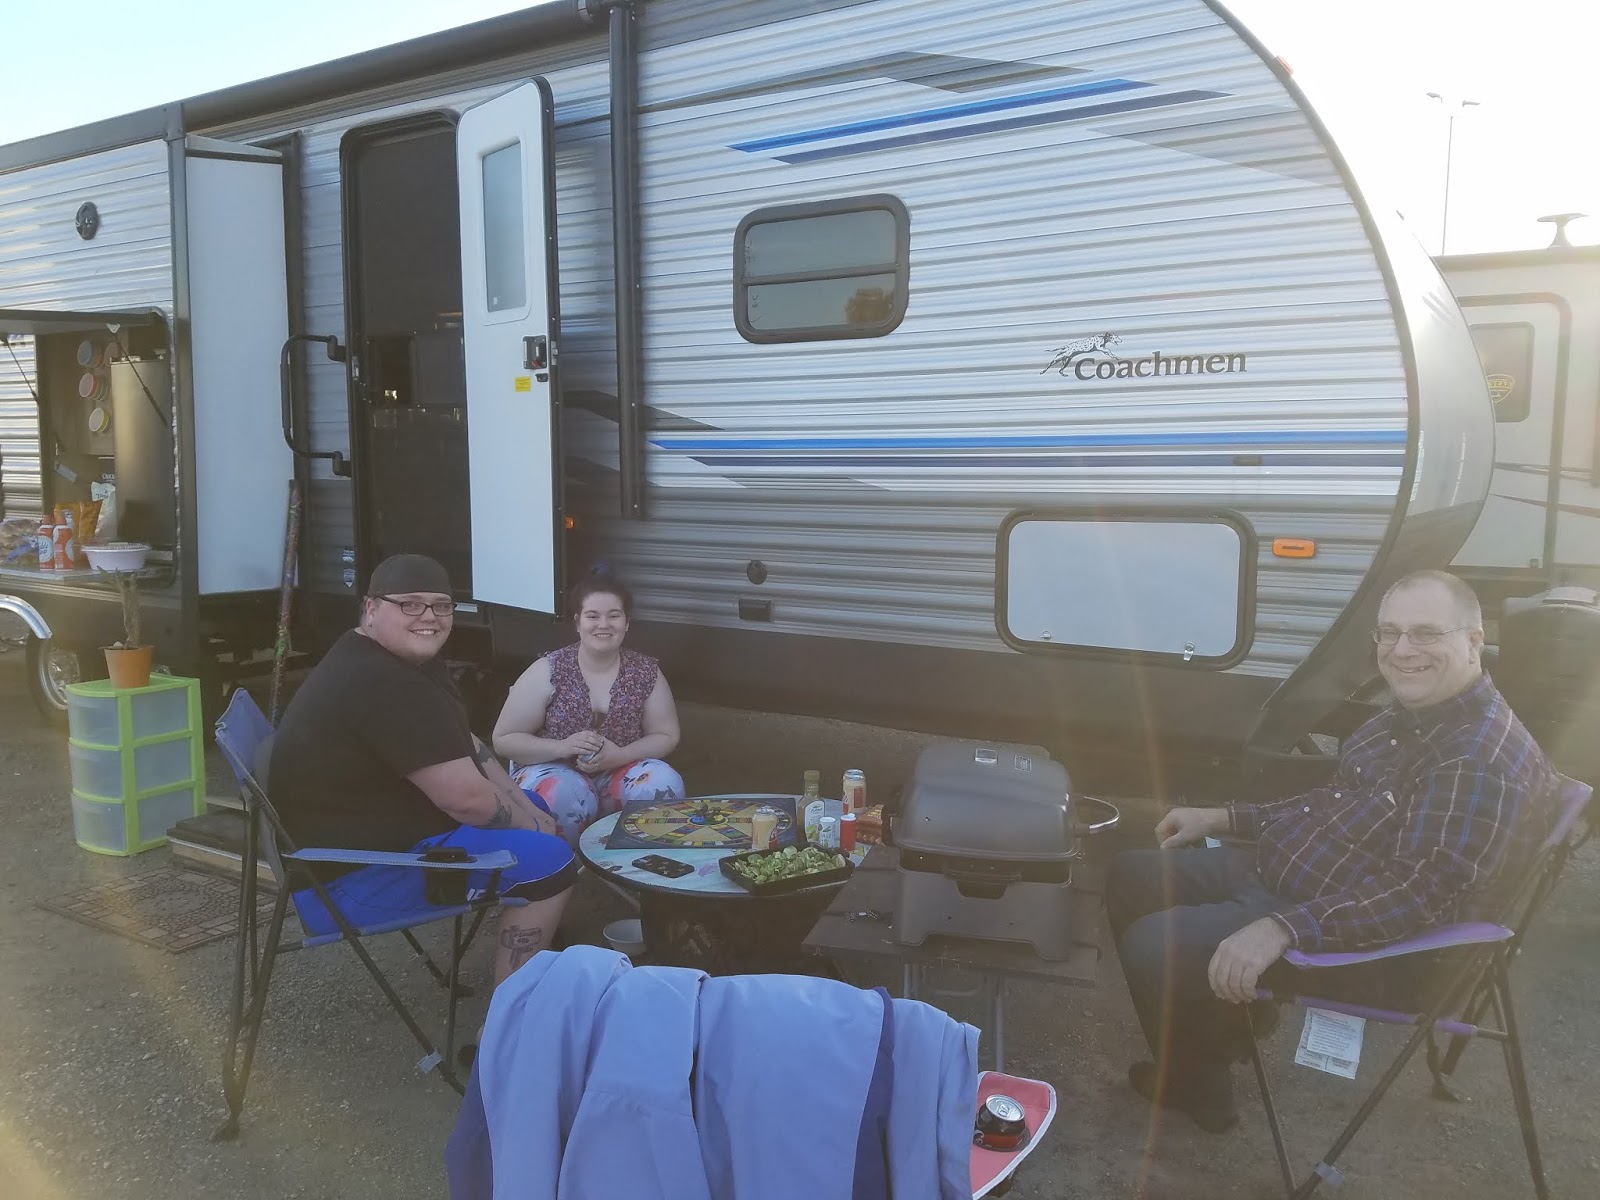
With a freezer filling up with ice cream and hamburger, Greg had time to work on setting up an amazing Christmas gift from our Bay Area friends, Ryan and Amanda. A new BBQ grill. We are totally set for a new year. One without quarantines and pandemics. Time for some happiness, joy and togetherness.

Monday, November 16, 2020

Coffee...Coffee...Coffee

When your daughter works at Starbucks in Target, suddenly your coffee experiences at home become much more delicious. We may live in an RV, but our coffee is definitely not the typical camping/dirt coffee of my youth.

The first early Christmas present of the season from Natalie is a Nespresso VERTUO Machine.

After a very caffeinated evening testing out the sample pack of coffee pods that came with the machine, we ordered many more from Amazon.


Within a day or two, we also added a Bodum Electric Milk FrotherThese fun new 'toys', added together with the Starbuck's flavored syrups, vanilla, caramel and simple syrup, that Natalie has purchased in the past few months, gives us a grand coffee shop experience.

Luxury in a cup. Luxury in an RV. 


Sunday, June 21, 2020

building a table


Our folding table.


It has now been ten and a half months since we made the leaf into full time RV living. When we first moved into this beast, I was so careful to not put nails into the wall. Not change anything from the original style. The plan was to keep everything just exactly the was it was so when we decided to upgrade it would still look 'factory fresh'.

We tried diligently to hold up pictures on the walls with Velcro strips and gorilla glue strips. Over and over again, pictures dropped and shelves fell. The real turning point came when Natalie refused to sleep in her own room. We bought a bunk room trailer just for her and she was sleeping on the drop down dining table. 

"Sleeping in the bunk feels like being in a coffin," she claimed.

So, one day while she was a t work, we ripped the upper bunk out of the room. And I MEAN ripped it right off the wall! The bunk room was suddenly a room for one, and our pristine trailer was no more.

Since then, we have added a fireplace, gutted the second kitchen to create a cat-box room and the latest project has been to build a fold up table in front of the sleeper sofa.

I found a picture on Etsy, yay Etsy!, and said, "I think we can make something like that."

And yes, 21 days, many, many, many arguments and a thousand and one trips to the lumber store during a deadly pandemic, we built a table.


We build this delightful piece of woodworking out of 1/2 plywood and 1 x 2 strips. It had to be thin enough when completed to fit between the wall and the eight foot slide with both the sofa and the dining booth.

Once finished, this table is being used for my crafting corner so it will also have several build into the legs to hold crafting supplies. My sewing machine, Cricut, vinyl and and fabric must all fit on the shelves. But, the shelves had to be removable for when the table was stored upright to put the slide in.


We stained it to match the inside out our amazing rolling home sweet home.


Testing and cutting inside and out. Nite, the table that I am cutting on is the table that we used in front of the sofa before we did this project. There was that table, another small table and a shoe rack, along with mall of the crafting supplies and machines that had to be moved every single time we moved this beast to another location.


We built through a 103 degree heat wave. Greg is cutting the width of a canvas picture frame in half so it will fit behind the table when folded up against the wall..See below they are still hanging snug on the wall where they stay even when the table goes up.


Bit by bit . Piece by piece. Day by day by day, a table is built. The cross boards on all three legs are built at different levels so, allow for the different sized machines and crafting suppies that will be stored there. the legs against the wall are screwed directly into the wall to give the table additional support.


The center leg is not actually attached to the table at all, but sits inside a goe system so it can be removed when the table is up. Then it is stored on dowel hoes drilled in the table legs attached to the wall. The furthest out legs swing down on hinges, and the legs sit snug inside the table when stored upright.


We used 1" x 10" and  1" x * 8" boards to form the shelves. There was room to use just 1" x 10" boards, but I wanted room to slide the shelves down when I am using the sewing machine. That way, I have more room for my feet. Also, keeping the shelves in two separate pieces makes it easier to remove them for storage when we are traveling.


At the moment, we have a couple small bits of board screwed into the wall  that when the table is lifted we put a screw through a hinge to hold it up. Not fancy, but it woks. The plan is to pretty up the wood on the wall to make it 'cute' and add a knob to a two sided screw.

That way we will no have to find a screwdriver or drill every time we lift the table up or down. We can just turn the knob to take the screw out. So far, the hinge just dangles freely off the end of the table. It does not seem to be causing a problem there, so unless I find something more interesting to look at, that may be the end solution.


Because the inside leg rests up on the cured part of the rv's slide, we had to cut the bottom of that leg on both the inside middle leg and front middle leg to match the curve. It was about a half inch cut difference from one side to the other. By doing that cut, we were able to get the table to sit flat on the floor.


Using the table to making s'mores on on fancy little s'more maker, because, sadly, we are not allowed to have a campfire in our campground. 😞


Wednesday, February 19, 2020

The cat room

Halfway through February we are almost six months into this full time RV adventure. We are still very much learning, fixing and changing our mobile world to best fit our needs.

Just this past week, Greg used his Christmas present. A telescoping ladder to climb onto the roof of the beast to sweep off the slides. With all of the wind we have been having lately, we had several bits of leaves and branches that we needed to remove before we could close up the the slides and move our trailer.


The days are getting longer, just barely. The temperatures are finally rising back up out of the forties and fifties and into the sixties! Back to barbecuing weather! YES!!!

 Valentine's Day game night! 

The Daffodils are blooming. It feels like Spring!

Back to fixing up the rig...

With two cats inside this little tin can, we have discovered it is practically impossible to contain the scent of them. ☹️ Not even by changing their litter box every single day. Our great litter box with the lid, from and earlier post. was not helping at all.

Natalie was spending more nights sleeping out on the sofa bed then in her room. We needed a solution.

They are cute, though.


We were fortunate in getting two outdoor kitchen units in this model. One with a refrigerator and wine rack. The other with a sink and BBQ grill. Well, we melted that down to nothingness months ago and replaced it with one too big to fit inside the space allotted without removing the shelf that was by the sink.

Therefore, that shelf was removed long ago.

In order for the BBQ grill to fit in next to the refrigerator, we will have to remove the wine rack. It is only filled with big cups we never use, anyhow. It might be great for weekend camping, but to gets way to hot inside that 'kitchen' to store wine for any amount of time without it going bad.

Shelves inside the larger kitchen will be a near future project, for sure. I also intend to replace the mini fridge with a mini freezer. So many plans.


Removing the counter unit was super simple. Detaching the water faucet by first turning the water going into the trailer off. Then unscrewing it from beneath the cabinet counter top. We just hooked the faucet back up after we had everything out. The plan is to build a six inch box at the edge of the box so we have running water for cleaning up any messes that may occur from the cats.

There is an outside shower just around the back of the trailer, so we could skip this step, bu the water is already, anyway. The counter top box just unlatched from the slider. Pushing the latch on each side and it was off. Then five big screws and the bottom of the slider was off, as well.

We initially thought about leaving the bottom half of the slider to let the faucet sit beneath it, but the cat doors needed to line up exactly for the cats to push through.


Testing Severus and Luci's acceptance of their new litter box space. Severus loves it. Luci is not so sure.


Time for lunch. Burgers on the grill.


The cats will be climbing through one of the bottom squares of a four square cabinet  and then through a cat door to get to their new litter box room. The shelf unit is one of two that Natalie uses to turn her small trailer bed into a full size bed, by pushing them up to the side of the bed and running a foam mattress over the top.


By using a dry erase marker, she marks the wall where the cabinet opening is so the cat door can be placed properly. Greg centers the door then draws his markings inside. Using a drill, he drills out all four corners, then saws our the door opening. He marks one corner of the door opening for the other opening with two drill holes. going outside, he marks the door and cuts it out.


Natalie works on teaching the cats how to use their new room.

 
For the first couple of days, we plan to prop the cat door open, until the two felines get used to going out into the new litter box room to do their business. Then, hopefully, when we drop it down, they will continue to go in and out without a problem. 

We got a small netting bag and some plain charcoal briquettes to hopefully help hold down the odor. It is supposed to work. So fingers crossed. We also added a small motion detection light into the space. It is very dark in there when the door is closed. 

I know cats can see in the dark. But, pitch black maybe pushing it a bit too much.

Natalie's fresh litter box free room.